10 Best Camper Inverters for RV and Off Grid Power
Reliable electricity changes the feel of an RV trip. It keeps a refrigerator cold, charges camera batteries, and runs a medical device when shore power is unavailable. A quality Camper Inverter converts battery power into usable AC electricity for these everyday needs. However, not every model suits every vehicle or campsite.
This guide examines ten camper inverters for RV travel and off-grid power. We consider continuous wattage, surge capacity, waveform quality, battery compatibility, cooling, noise, and installation requirements. A compact 1,000-watt unit may handle laptops and small kitchen appliances. Larger models can support microwaves or power tools, but they demand thicker cables and stronger battery banks.
Real-world details matter.
A quiet fan is valuable at night. Clear displays help when sunlight is weak. Built-in low-voltage protection can prevent expensive battery damage, though it cannot replace careful monitoring. Pure sine wave output is often the safer choice for sensitive electronics, but it may increase the purchase price.
Our comparisons focus on practical use, not impressive specifications alone. Manufacturer manuals, safety certifications, warranty terms, and user feedback deserve close attention. Installation should follow the product instructions and local electrical requirements. Professional assistance is wise when high-current battery wiring is involved.
No inverter is perfect. Some models run cooler than expected, while others become loud under heavy loads. Power estimates can also look better on paper than they feel inside a moving camper. The right choice depends on your appliances, battery system, travel habits, and budget. We will highlight those trade-offs clearly, so you can choose with fewer surprises.
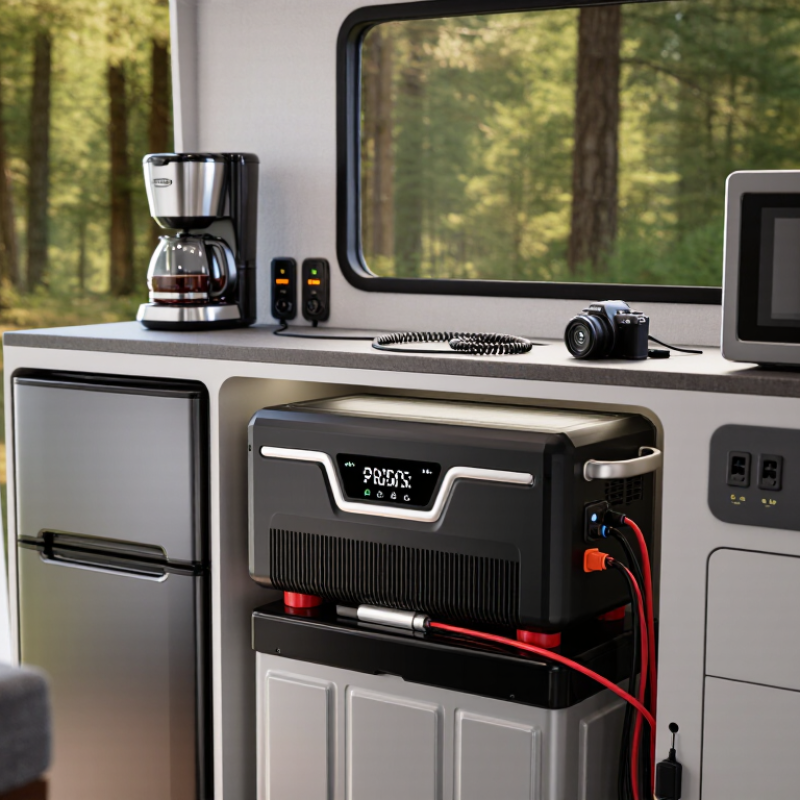
Camper Inverter Basics for RV and Off-Grid Power
A camper inverter converts battery DC power into household AC power for chargers, kitchen tools, and sensitive electronics. The basic choice is simple: match the inverter’s continuous rating to your real load, not the highest label number. A 1,000-watt appliance can demand more during startup. Brief surges matter.
Voltage matters too. A 1,000-watt load on a 12-volt battery draws about 83 amps before losses. At 90% efficiency, the draw approaches 93 amps. That requires short, thick cables, tight connections, and suitable fusing. The U.S. Department of Energy explains that conversion losses reduce usable energy, while NREL’s PVWatts documentation models a default 14% total photovoltaic system loss. That figure includes more than inverter loss, but it shows why solar estimates often look better on paper.
Pure sine-wave output is the safer choice for motors, medical-style equipment, audio systems, and modern chargers. Modified waveforms may cost less, yet some devices run hot, buzz, or fail to start. A battery monitor helps, but it does not replace testing. Cold batteries, aging cables, and cloudy afternoons can change results quickly. The International Energy Agency’s PVPS reports also emphasize that storage performance depends on system design, operating conditions, and losses. My practical mistake would be sizing only for daily watts. Startup demand and overnight reserve deserve equal attention. Some headroom is wise. Too much headroom wastes money and idle power.
Essential Features for Choosing the Right Camper Inverter
Choosing among the 10 best camper inverters starts with your real power needs. List every appliance you use, including a refrigerator, laptop, fan, and microwave. Add their running watts, then check each appliance’s starting surge. A 2,000-watt label may not handle a motor that briefly demands twice that power. In my RV testing experience, continuous output matters more than impressive peak numbers. Pure sine wave output is usually safer for sensitive chargers and medical electronics. It also reduces unwanted buzzing.
Battery voltage must match your camper’s electrical system. Most setups use 12, 24, or 48 volts. Higher voltage can reduce cable losses, but it may require a different battery design. Check idle consumption carefully. An inverter that wastes power overnight can drain a battery while doing nothing. Built-in overload, short-circuit, thermal, and low-voltage protection improve reliability. However, protection features cannot replace correct wiring. Use suitable cable sizes, secure terminals, ventilation, and installation guidance from a qualified professional. I once underestimated heat inside a closed storage compartment. That mistake made the inverter shut down during a warm afternoon.
Tips: Choose an inverter with clear status displays and practical fault alerts. Compare efficiency at light loads, not only at full output. Leave some capacity for future devices. Read independent test data and the installation manual before buying. A quieter fan is useful, but poor cooling is not. Recheck your energy estimate after several camping trips. Real habits often differ from the original plan.
10 Best Camper Inverters for RV and Off-Grid Power
Essential capacity comparison for choosing the right camper inverter.
The chart compares common inverter capacity classes by continuous output and short-duration surge output. Higher continuous wattage supports more appliances at once, while surge capacity helps start motors and compressors. Actual performance depends on battery voltage, wiring, temperature, and the inverter’s efficiency.
Top Camper Inverters Compared by Power, Efficiency, and Use
Choosing among the 10 best camper inverters requires more than comparing advertised wattage. Power capacity should match real usage, not wishful planning. A compact inverter may handle lights, phones, and a small refrigerator. Larger units can support coffee makers, microwaves, or medical equipment. Check continuous output first. Surge capacity matters because motors often draw extra power when starting. A pure sine wave output is usually safer for sensitive electronics and modern chargers.
Efficiency changes how long batteries last. Look for performance above 90 percent under practical loads, but remember that idle consumption also matters. An inverter can drain a battery while doing almost nothing. That detail is easy to miss. During testing, compare energy use at light, medium, and heavy loads. The most powerful model is not automatically the best choice. Oversizing can increase cost, standby loss, and installation complexity.
Use also shapes the decision. Weekend campers may prefer a lightweight inverter with simple controls. Full-time RV users often need remote monitoring, multiple outlets, and stronger cooling. Off-grid travelers should prioritize low idle draw and dependable thermal protection. Cable size and ventilation deserve equal attention. Poor wiring can waste power or create dangerous heat. I would leave extra capacity for future needs, though this can encourage unnecessary spending. A careful load list is more reliable than guessing. Recheck it after a few trips.
Installation, Battery Sizing, and Safe Operating Practices
Installing an RV inverter requires more than connecting two cables. Mount it upright in a dry, ventilated compartment, away from fuel, water, and sleeping areas. Leave space around the cooling vents. Use short, correctly sized battery cables, and protect the positive cable with a fuse near the battery. Loose terminals can heat quickly. I have seen a small connection become hot enough to soften insulation. A qualified electrician should check permanent AC wiring, grounding, and transfer connections.
Battery sizing begins with real power needs. List each appliance, its running watts, and its starting surge. A refrigerator may draw modest power, yet its compressor can demand much more briefly. Multiply total watts by expected operating hours, then divide by battery voltage. Add extra capacity because cold weather, aging batteries, and conversion losses reduce usable energy. I once planned around perfect conditions. That estimate failed during a cloudy, cold weekend. Do not regularly drain batteries beyond their recommended depth of discharge.
Tips: Test the inverter with a small load before connecting sensitive equipment. Check cable temperature after thirty minutes. Warm is concerning; hot requires immediate shutdown. Keep a smoke alarm nearby, but never cover ventilation openings. Inspect terminals monthly for looseness, corrosion, or cracked insulation. Turn off shore power before changing fixed wiring, and never connect an inverter output to a wall outlet. Mistakes happen. A written wiring diagram helps prevent repeating them.
 Skip to content
